Contracts
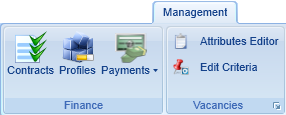
The Contracts module allows you to manage your delivery contractors / companies and annual funding contracts. It can be opened by going to Management on the toolbar and clicking Contracts on the Finance panel of the ribbon.
Companies in this context are also often referred to as contractors. On this page they are referred to as companies.
General Layout
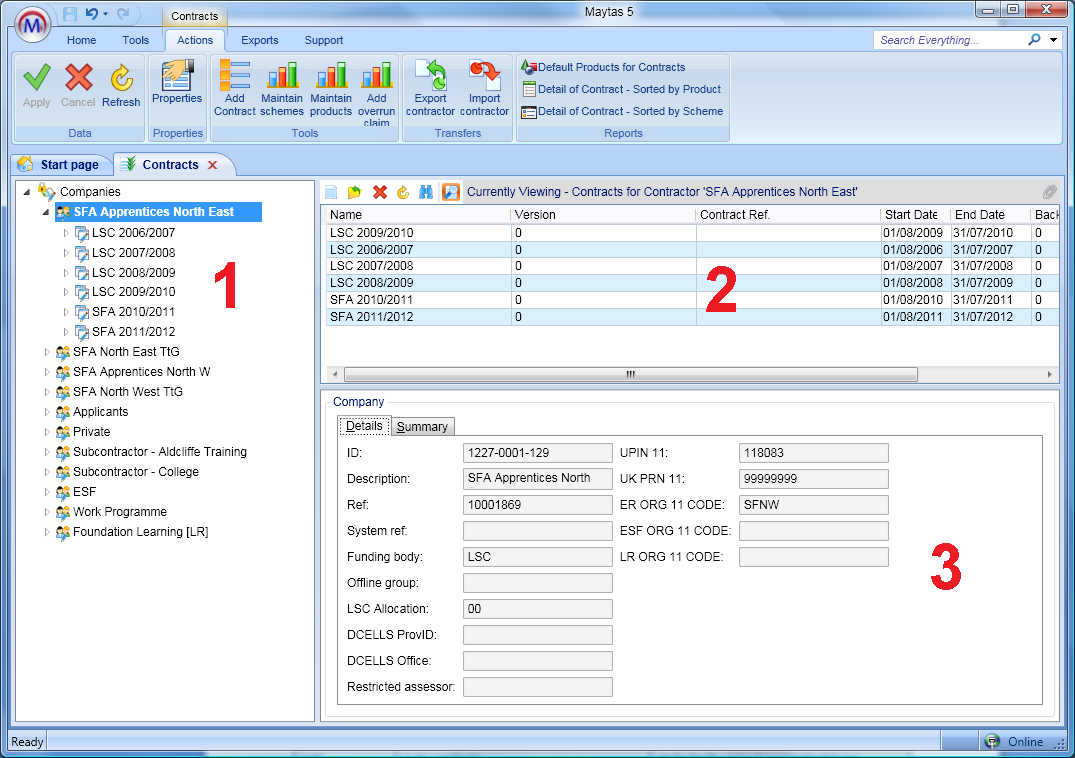
- Companies List – This lists all companies and the contracts within them. If you have previously entered companies and contracts (e.g. in Maytas 3) then these will be included in the list. To expand an item, click the arrow to the left of it. Companies can be expanded to show contracts, and contracts can be expanded to show periods.
- Contracts – This lists all the contracts within the selected company and their basic details.
- Company Details – This shows the details for the currently selected item from the companies list.
Create Companies and Contracts
The following tutorials detail how to add and edit new companies and contracts:
How to add a new contract or company
If you wish to add a new company, this is done as part of adding a new contract.
How to edit the details of a company
Configure Custom Contracts
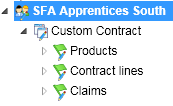
After creating a custom contract, the products, contract lines and claims for the contract must be configured. To view these, click the arrows to the left of the company and contract to expand them:
Products
A product is a generic claim item such as:
- Start payments
- Qualifications
- On-programme payments (OPPs)
- Weeks
- Job outcomes
Products can be applied to specific contract lines by dragging and dropping them onto the line (please see Create Contract Lines for more details).
Contract Lines
Contract lines are claimable items on the contract, broken down by scheme and, if applicable, funding band. Contract lines are created from standard default products and then amended to record the correct claim value, volume and claim criteria.
Claims
The claims folder contains the contract claim periods. This area of the contract is used to process claims (please see Claims Procedure for more details).
Please see the How to Configure a Custom Contract tutorial for further information.
Claims Procedure
Please see Claims Procedure.
Import and Export Companies
Companies can be exported and imported between Maytas databases (e.g. if you had a sub-contractor with a separate database, their companies could be exported and imported into your own database). Additionally, this feature is cross-compatible with Maytas 3, meaning companies exported in Maytas 3 can be imported into Maytas 5, and vice-versa.
To export a company:
- Expand the list of companies and select the company to export.
-
Click Export contractor on the ribbon. This can be found on the Action tab on the toolbar.

- Browse to the location to which you wish to save the file, enter the filename and click Save.
To import a company:
- Click Import contractor on the ribbon. This can be found on the Action tab on the toolbar.
- Browse to and select the saved company file (file type .ctf) and click Open.
- If the company does not exist in the database, you will be asked if you wish to create the company. Click Yes to accept.
Scheme Selection on Pre-Defined Contracts
When creating a pre-defined contract (i.e. an ESFA formula-funded contract or a DfES contract), there is the option to specify which schemes the contract will apply to. To do this when creating a new contract:
- Go to the Management tab and click Contracts on the ribbon.
- Select the company/contractor you wish to add the new contract to, then click Add Contract on the ribbon.
- Click Next.
- Enter the contract description and optionally a contract number.
- Select SFA/EFA/ESFA Formula Funded Contract or DFES Contract (Wales).
- Choose the relevant year and click Next.
-
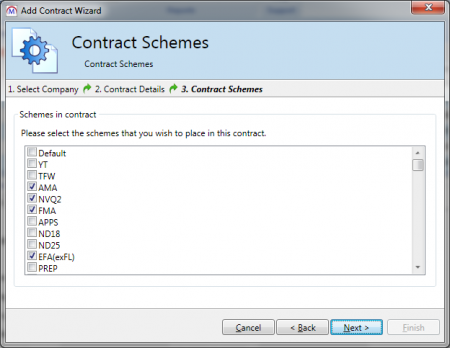
You will now be able to choose the schemes which the contract will apply to. A number of schemes will be selected by default. Click Next when finished.
- Click Finish to create the contract.
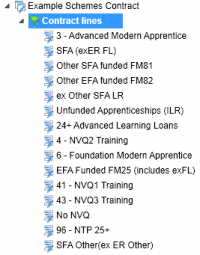 The contract will be created with a contract line for every scheme. If you need to add or remove schemes from the contract, this can easily be done simply by adding or removing the contract lines.
To remove a scheme:
- Expand the contract and expand Contract lines.
- Select the scheme you wish to remove, then right-click it and select Delete.
- Click Yes to confirm deletion.
To add a scheme:
- Expand the contract and expand Contract lines.
- Right-click Contract lines and select New | Contract Line.
- Enter a description for the line (e.g. the scheme description) and select the scheme from the dropdown box.
- Click OK. The scheme will now be added.
Scheme Editor
Schemes can be maintained in the contracts module.
It is not recommended to change scheme settings unless you are certain the change is required and understand the effects it will have. Also please note that standard schemes are maintained and updated by Tribal every contract year.
To access the scheme editor:
- Go to Management on the toolbar and click Contracts.
-
Click Browse schemes on the ribbon.
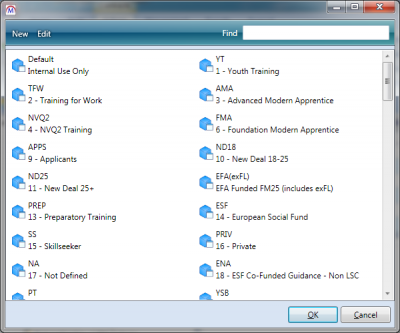
To create a new scheme:
- Click the New button.
- Enter a name and description for the scheme and select the scheme type.
-
You can optionally enter a group type. Screens created in the screen designer can be given a scheme group, which means they will only appear on schemes with that type. For example, the ILR 2014 App tabs have scheme groups of ILR_ER and ILR_TB, which means the App tabs only appear on schemes with either of those group types.

- Click Apply when finished and close the scheme tab. The new scheme will appear at the bottom of the scheme list.
To edit an existing scheme:
- Select the scheme and click the Edit button.
- Amend the details as required.
- Click Apply and close the scheme tab.